As a cat parent, you cherish those purrs and playful pounces, but let’s be honest: dealing with the litter box isn’t exactly a highlight. Yet, maintaining a clean and fresh litter box is more than just a chore; it’s a cornerstone of your cat’s health and happiness, and undeniably, your home’s serenity. A neglected litter box can lead to behavioral issues, health problems for your feline friend, and unpleasant odors that permeate your living space. This comprehensive guide will equip you with all the knowledge, tools, and routines you need to ensure your cat’s bathroom is always a pristine, welcoming spot.
Why a Pristine Litter Box is Non-Negotiable
A clean litter box is not just about keeping your house smelling nice; it’s fundamental to your cat’s well-being and prevents a host of potential problems.
For Your Cat’s Well-being
|
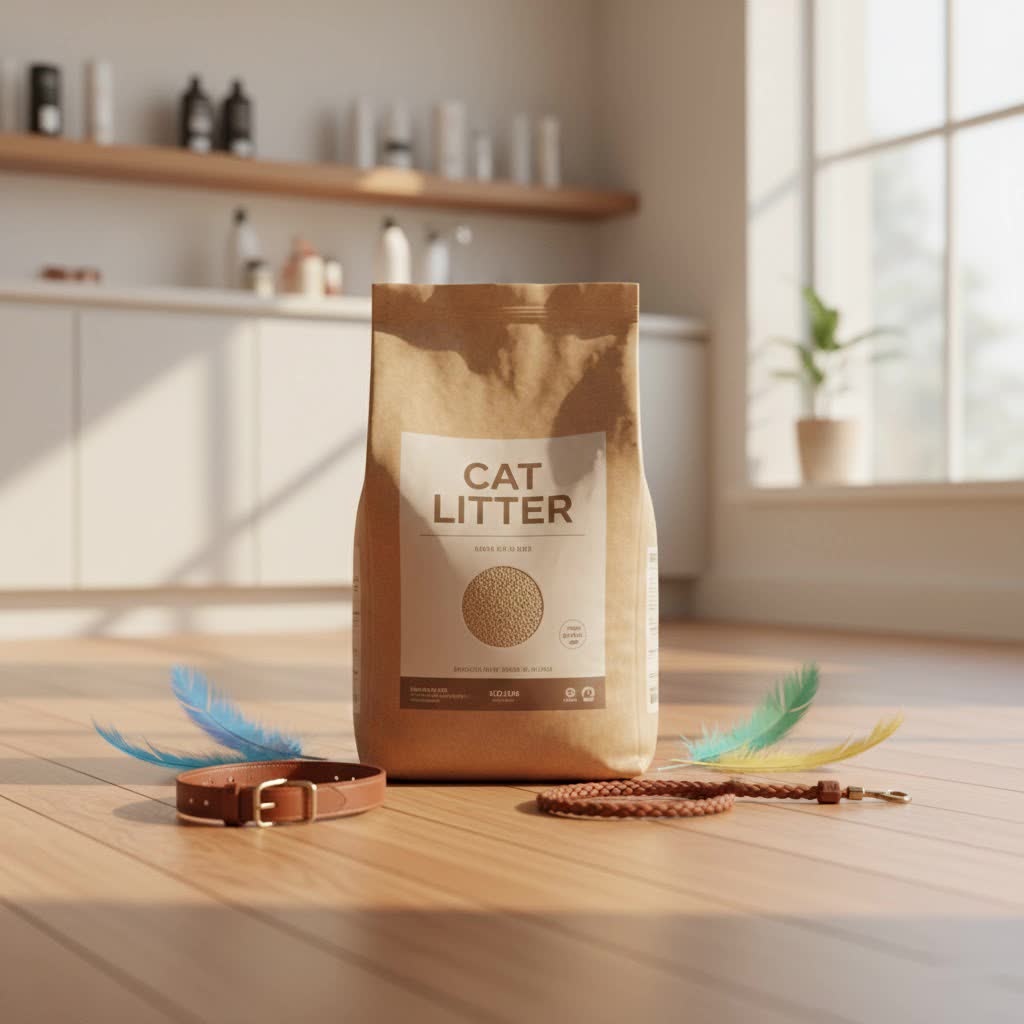
Our Picks for the Best Cat Litter in 2026
We may earn a commission when you use one of our links to make a purchase.
|
||
| Num | Product | Action |
|---|---|---|
| 1 | Mixed Tofu Cat Litter Strong Clumping Litter 99.9% Dust Free and Flushable Cat Litter, Mixed Tofu and Bentonite Natural Sustainable Ingredients Odor Control, Low Tracking(16.8lb, Fresh) |

|
| 2 | Purina Tidy Cats Clumping Cat Litter Odor Control, 24/7 Performance Multi Cat Litter - 16 lb. Bag |
|
| 3 | WORLD'S BEST CAT LITTER Comfort Care Unscented, 32-Pounds - Natural Ingredients, Quick Clumping, Flushable, 99% Dust Free & Made in USA - Long-Lasting Odor Control & Easy Scooping |
|
| 4 | ARM & Hammer Cloud Control Platinum Cat Litter, Hypoallergenic, Dust-Free, Multi-Cat, 14-Day Odor Control, 18 lbs – Dander Shield & Baking Soda |
|
| 5 | Purina Tidy Cats Clumping Multi Cat Litter, Glade Clear Springs - 38 lb. Box |
|
| 6 | Purina Tidy Cats Clumping Cat Litter, 24/7 Performance Multi Cat Litter - 38 lb. Box |
|
| 7 | Dr. Elsey's Ultra Unscented Clumping Clay Cat Litter 18 lb Bag |
|
| 8 | Fresh Step Clean Paws Advanced Multi Cat Clumping Litter with Febreze Freshness, 18.5 lb Each, Pack of 2 (Package May Vary) |
|
| 9 | Crystal Cat Litter and Disposable Litter Trays 5 Sets Compatible with Petsafe Scoop-Free Classic/Legacy/Smart Litter Boxes, Triple Leak Proof Design, Excellent OdorControl, One-Hand Disposing. |
|
| 10 | Fresh Step Odor Shield Advanced Multi Cat Clumping Litter with Febreze Freshness, Gain Original Scent, 18.5 lb Each, Pack of 2 (Package May Vary) |
|
Cats are remarkably fastidious creatures by nature. They instinctively seek out clean environments for their toileting needs. A dirty or odorous litter box can cause significant stress, leading to your cat developing an aversion to their designated bathroom area. This aversion often manifests as “accidents” outside the box, which can be frustrating for you but are a clear signal of distress from your cat. Moreover, a perpetually dirty litter box creates a breeding ground for bacteria and parasites, potentially contributing to feline lower urinary tract disease (FLUTD) or other health complications. Your cat’s comfort and health are directly linked to the cleanliness of their litter box.
For a Scent-Free Home
Let’s face it, no one wants their home to smell like a litter box. Cats possess a sense of smell far more acute than ours, roughly 14 times stronger. This means that odors you might barely perceive can be overwhelmingly repulsive to your feline companion, driving them away from a dirty box. Regular, thorough cleaning is the most effective way to prevent unpleasant odors from building up and becoming a permanent fixture in your home. By staying on top of litter box hygiene, you protect your cat’s sensitive nose and ensure your living space remains fresh and inviting for both two-legged and four-legged occupants.
Essential Tools for Effective Litter Box Cleaning
Having the right equipment makes the task of cleaning your cat’s litter box much more efficient and less daunting. Gather these items to set yourself up for success:
- Quality Litter Scoop: Invest in a durable scoop made from high-quality plastic or metal. Look for one with slots large enough for unused litter to fall through easily, but small enough to retain solid waste and clumps effectively. Scoops with peaked tines often perform best for sifting.
- Heavy-Duty Trash Bags or Litter Disposal System: Strong garbage bags are essential for containing soiled litter and odors. For added convenience and superior odor containment, consider a dedicated system like a Litter Genie, which seals waste away until disposal.
- Mild, Unscented Detergent: Choose a gentle, unscented dish soap or a pet-safe enzymatic cleaner. Harsh chemicals or strong fragrances can deter your cat from using the box and can be harmful.
- Warm Water: Necessary for rinsing and scrubbing.
- Dedicated Scrub Brush or Sponge: Use a brush or sponge reserved exclusively for litter box cleaning. Avoid abrasive materials like steel wool, which can scratch plastic surfaces and create crevices for bacteria and odors to hide.
- Paper Towels or Old Cleaning Rags: For wiping and drying.
- Optional Additions:
- Gloves: Protect your hands from bacteria and parasites.
- Baking Soda: A natural deodorizer.
- Activated Charcoal: Can be added to litter or used in filters to absorb odors.
- Litter Mat: Helps trap stray litter particles outside the box.
- Broom or Vacuum: For quick clean-ups around the litter box area.
Establishing Your Litter Box Cleaning Schedule
Consistency is key to maintaining a healthy and odor-free litter box. A routine combining daily scooping with regular full litter changes and deep cleans is ideal.
Daily Scooping: The Cornerstone of Cleanliness
Scooping your cat’s litter box should be a non-negotiable daily task—ideally, once in the morning and once in the evening. Daily scooping prevents waste from accumulating, which is crucial for controlling odors and keeping the box appealing to your cat.
When scooping:
- For clumping litter: Remove all solid waste and urine clumps. Gently shake your scoop to allow clean litter to fall back into the box, minimizing waste of fresh litter. Ensure you scoop all the way to the bottom to get any hidden clumps.
- For non-clumping litter: Remove solid waste. Stir the remaining litter to distribute moisture and allow the litter to absorb liquid waste more effectively. Note that non-clumping litter typically requires more frequent full changes.
Full Litter Change: A Weekly or Bi-Weekly Refresh
Beyond daily scooping, the entire contents of the litter box need to be replaced regularly. The frequency depends largely on the type of litter you use:
- Non-clumping litters often need a full change and box wash at least once a week, as they don’t allow for easy removal of urine.
- Plant-based or crystal litters might allow for a longer interval, typically every 2-3 weeks.
- Even with clumping litter, a complete change and box wash every 3-4 weeks is advisable to remove residual odors and bacteria.
This full litter change is important to remove microscopic waste particles and saturated litter that daily scooping can’t catch, preventing deeper bacterial growth and lingering smells.
Deep Cleaning the Box: The Monthly Reset
Approximately every three to four weeks, your cat’s litter box requires a thorough deep clean. This deep cleaning addresses the fundamental issue that plastic litter boxes are porous and can absorb odors over time. Even meticulously scooped boxes can develop a lingering smell due to microscopic scratches that trap bacteria and odor-causing compounds. For households with multiple cats, you might find a bi-weekly deep clean more beneficial. Consider investing in a stainless steel litter box, which is non-porous and resists odor absorption, making deep cleans even more effective.
Your Step-by-Step Guide to a Deep Clean
A proper deep clean ensures your cat’s litter box is truly hygienic and odor-free. Follow these steps for best results:
Step 1: Empty All Contents
Start by carefully emptying all the old, soiled litter into a heavy-duty trash bag. Ensure the bag is securely tied to contain odors and prevent spills. Once sealed, dispose of the bag in an outdoor trash receptacle. It is crucial never to flush cat litter down the toilet, even if it’s labeled “flushable.” Cat litter can cause severe plumbing clogs and there’s a risk of Toxoplasma gondii parasites contaminating waterways, which poses a public health concern.
Step 2: Initial Rinse and Scrape
Take the empty litter box to a utility sink, shower, or outdoors with a hose. Rinse the box thoroughly with warm water to remove any loose litter particles and residue. Use your dedicated litter scoop or a non-abrasive tool, like an old spatula or a stiff plastic brush, to gently scrape off any stubborn, stuck-on waste from the bottom and sides of the box.
Step 3: Sanitize with Safe Solutions
Now, it’s time to sanitize. Pour a few pumps of mild, unscented dish soap or a pet-safe enzymatic cleaner into the box along with some warm water. Enzymatic cleaners are excellent because they break down odor-causing organic matter at a molecular level. For an extra boost against stubborn stains and odors, sprinkle a generous amount of baking soda into the box before adding a splash of white vinegar. This combination creates a natural, fizzy reaction that helps lift and neutralize deep-set smells. Let the solution sit for about 15 to 20 minutes to work its magic. Then, using your dedicated scrub brush or sponge, thoroughly scrub all surfaces of the litter box, paying close attention to corners and any areas where waste tends to accumulate.
Step 4: Rinse, Rinse, Rinse!
This step is arguably the most critical. Rinse the litter box repeatedly with warm water until absolutely all traces of soap, vinegar, baking soda, and cleaning solutions are gone. Any lingering scent, even from mild cleaners, can be overpowering to your cat’s sensitive nose and deter them from using their freshly cleaned box. Continue rinsing until the water runs completely clear and there is no visible suds or residue.
Step 5: Dry Completely
After rinsing, allow the litter box to air dry completely. If possible, place it in direct sunlight; the sun’s UV rays can act as a natural sanitizer and further aid in deodorizing. If air drying isn’t an option, thoroughly wipe the box dry with clean paper towels or old, clean rags. Ensuring the box is completely dry prevents moisture from leading to mildew or mold growth, which can create new odors and potential health hazards.
Step 6: Refill with Fresh Litter
Once the box is sparkling clean and dry, it’s ready for fresh litter. For clumping litter, fill the box to a depth of approximately 3-4 inches. For non-clumping varieties, 2-3 inches is usually sufficient. Maintaining a consistent litter depth is important as it allows your cat to comfortably dig and bury their waste, which is a natural instinct and helps with odor control.
Mastering Odor Control in Your Home
Even with a diligent cleaning routine, persistent odors can sometimes be a challenge. Here are advanced strategies to keep your home continuously fresh:
Choose the Right Litter
The type of litter you use significantly impacts odor control. Unscented, high-quality clumping litters are often the most effective because they rapidly absorb moisture and form solid clumps that are easy to remove. This traps odors at their source. Some natural litters made from corn, wheat, or tofu also offer excellent odor-neutralizing properties.
Natural Deodorizers
Beyond regular cleaning, natural additives can help neutralize smells:
- Baking Soda: A sprinkle of unscented baking soda at the bottom of the clean litter box before adding fresh litter, or a light sprinkle over the top after scooping, can effectively absorb urine odors.
- Activated Charcoal: Activated charcoal is an environmentally friendly and non-toxic way to combat stubborn odors. You can find litter additives containing activated charcoal or use charcoal filters in hooded litter boxes. These filters help trap odor molecules.
Proper Litter Depth
Ensure you’re using enough litter. A depth of 3-4 inches for clumping litter (and 2-3 inches for non-clumping) allows your cat to comfortably dig and fully bury their waste. This natural behavior is a primary way cats contain odors themselves.
Strategic Placement
The location of the litter box matters. Place litter boxes in well-ventilated, low-traffic areas where your cat feels safe and private, yet where you’ll pass by regularly to remember daily scooping. Avoid placing them near your cat’s food and water bowls, or in noisy, high-traffic zones like busy hallways.
Consider Stainless Steel
Plastic litter boxes are prone to absorbing odors over time, even with frequent cleaning, due to their porous nature and accumulation of microscopic scratches. Stainless steel litter boxes, on the other hand, are non-porous, making them significantly more resistant to odor absorption and easier to deep clean, offering a long-lasting and hygienic solution.
Common Litter Box Cleaning Mistakes to Avoid
Even with the best intentions, some common errors can undermine your efforts to maintain a clean and healthy litter box environment.
- Using Harsh Chemical Cleaners: Bleach, ammonia-based cleaners, or strongly scented cleaning products are a big no-no. They can be toxic to cats, irritate their sensitive respiratory systems, and their strong smells can deter your cat from using the box. Cat urine naturally contains ammonia, so adding ammonia-based cleaners can create an even more pungent and repulsive scent for your cat, or even dangerous chloramine gas if mixed with chlorine bleach.
- Infrequent Cleaning: This is the most common mistake. Not scooping daily or delaying full litter changes and deep cleans leads to rapid odor buildup, encourages bacterial growth, and is the leading cause of cats eliminating outside the litter box.
- Not Replacing Old Litter Boxes: Plastic litter boxes inevitably develop scratches and absorb odors over time, becoming impossible to truly sanitize. Aim to replace plastic litter boxes annually, or sooner if persistent odors remain even after deep cleaning.
- Flushing Litter: As mentioned, flushing cat litter, even those labeled “flushable,” can cause significant plumbing problems and contribute to environmental contamination with parasites like Toxoplasma gondii. Always dispose of soiled litter in sealed bags in the trash.
- Ignoring Cat’s Signals: If your cat suddenly starts avoiding the litter box, it’s a clear sign that something is amiss. This could be due to the box’s cleanliness, location, type of litter, or an underlying medical issue. Never punish your cat for accidents; instead, investigate the cause.
Advanced Tips for a Harmonious Litter Box Experience
Beyond the basic cleaning routine, a few extra considerations can create an even more comfortable and hygienic environment for your cat and your home.
- The “N+1” Rule: For multi-cat households, the general recommendation is to have one litter box per cat, plus an additional one. So, if you have two cats, aim for three litter boxes. This minimizes competition and provides options, especially important if one cat guards a box or if certain cats prefer to urinate in one box and defecate in another. For multi-level homes, having a box on each floor is also beneficial, even with a single cat.
- Litter Box Type and Size: Cats generally prefer large, open-top litter boxes that allow them ample space to turn around and dig without feeling confined. While hooded boxes might appeal to humans for odor containment, some cats dislike them due to restricted airflow and trapped odors. If you use an automatic or self-cleaning litter box, remember that these still require regular emptying of waste compartments and periodic deep cleaning.
- Scooper Hygiene: Don’t forget your litter scoop! It comes into direct contact with waste daily. Clean your scoop regularly with hot, soapy water and allow it to dry. Storing it in a sealed container or bag specifically for litter box tools helps prevent cross-contamination and contains any residual odors.
- Personal Hygiene: Always wear gloves when handling soiled litter and cleaning the litter box. After you’re done, wash your hands and forearms thoroughly with soap and warm water. This is crucial for preventing the spread of bacteria and parasites, particularly Toxoplasma gondii, which can be harmful to pregnant individuals and those with compromised immune systems. If you are pregnant or immunocompromised, it’s best to delegate litter box cleaning to another household member.
Conclusion
Maintaining a consistently clean cat litter box might seem like a never-ending task, but it’s a vital aspect of responsible pet ownership that yields immense rewards. By committing to daily scooping, regular full litter changes, and periodic deep cleans, you create a hygienic and inviting space for your feline companion, simultaneously banishing unpleasant odors from your home. Choosing the right tools, using pet-safe cleaners, and avoiding common mistakes will streamline your routine and ensure both you and your cat enjoy a harmonious living environment.
What noticeable difference has implementing a consistent litter box cleaning routine made in your home and for your beloved feline friend?
Frequently Asked Questions
How often should I scoop my cat’s litter box?
You should scoop your cat’s litter box at least once a day, and ideally twice a day (morning and evening). This frequent scooping is crucial for odor control and to ensure your cat always has a clean place to do their business, preventing them from seeking alternative spots outside the box.
What household items can I use to clean a litter box?
For deep cleaning, a mild, unscented dish soap combined with warm water is highly effective and safe. Baking soda can be used as a natural deodorizer, either mixed into the litter or sprinkled on the bottom of a clean box. For scrubbing, a dedicated scrub brush or sponge (not abrasive) works well.
Is it safe to use bleach to clean my cat’s litter box?
No, it is not safe to use bleach or ammonia-based cleaners to clean your cat’s litter box. These harsh chemicals can be toxic to cats, irritate their respiratory systems, and their strong odors can deter your cat from using the box. Mixing bleach with cat urine (which contains ammonia) can also create dangerous chloramine gas.
How can I eliminate lingering litter box odors?
Beyond daily scooping and regular deep cleaning with unscented soap, consider these tips: use a high-quality, unscented clumping litter; sprinkle baking soda into the litter; incorporate activated charcoal filters or additives; ensure the litter box has adequate litter depth; and consider upgrading to a non-porous stainless steel litter box.
When is it time to replace my cat’s plastic litter box entirely?
You should replace your plastic litter box annually, or sooner if you notice persistent odors even after thorough deep cleaning. Over time, plastic develops microscopic scratches that trap bacteria and absorb odors, making it impossible to sanitize completely and leading to a perpetually smelly box.